

How To Install A 3 Prong Plug
How to Change a 3-Prong Electrical Outlet
I've replaced over 30 electrical outlets in my house; it's a useful skill to have.
Though it might initially seem somewhat intimidating, you can actually larn how to replace your ain 3-prong electrical outlets pretty easily without the need for an electrician.
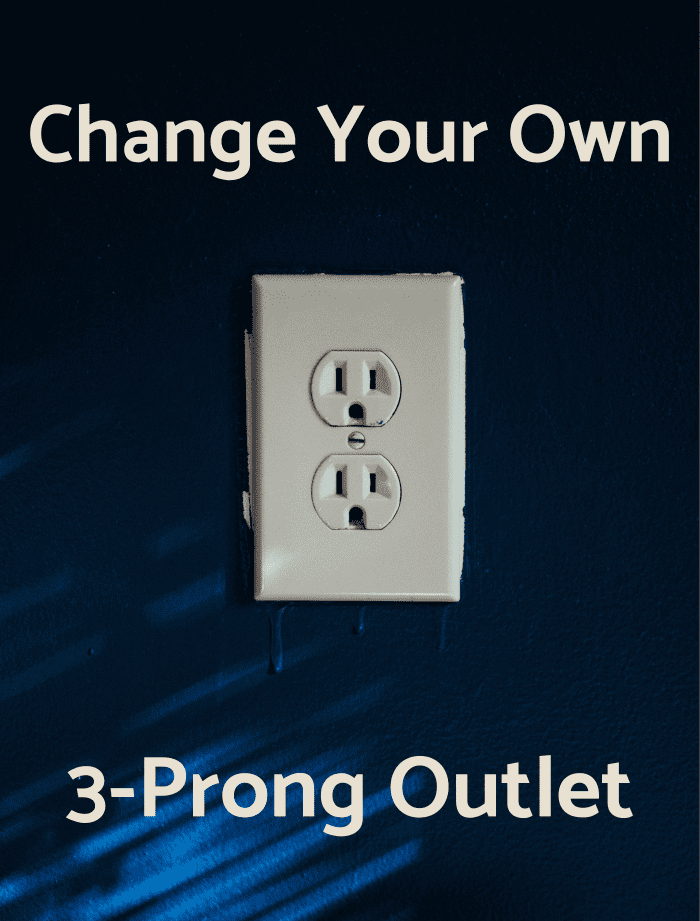
Brian Patrick Tagalog, CC0-BY, via Unsplash
Electrical outlets in homes wear out, become outdated, go bad, break, get smeared with paint, or otherwise succumb to a host of other problems that necessitate their replacement. Luckily, replacing an electric outlet is a uncomplicated task that one can practice without the help of an electrician. Since most electricians will charge you $25 or more to replace an outlet in your home, it'south a useful skill to larn how to supercede them on your own when you can.
Don't let this job intimidate yous, though. I must have inverse out 30 electrical outlets when we bought our domicile. Eventually, I got lazy and didn't even cut the power off when changing them, since I was so used to replacing them. I did, however, go zapped a few times! Only this guide volition show y'all how to do it the right style through a handful of simple and like shooting fish in a barrel steps.
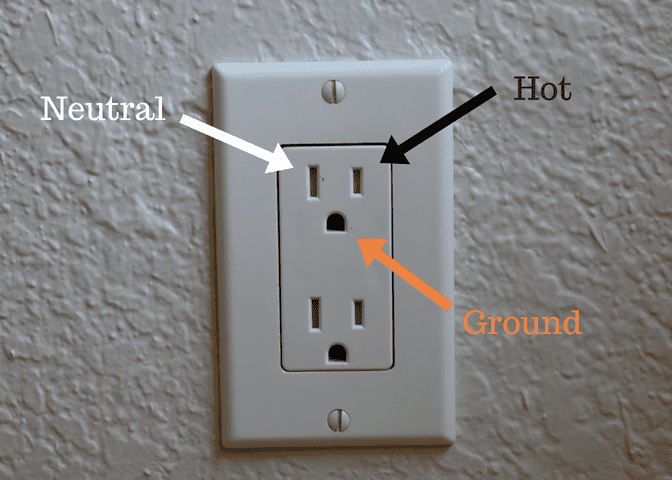
This diagram should help y'all distinguish which pivot is which. The bottom pin is the ground (copper), the slot on the right is the hot pivot (brass/black), and the longer slot on the left is the neutral pin (white/silverish).
Public Domain, CC0-BY-SA, via Wikimedia Commons
How to Change a 3-Prong Electric Outlet
If yous simply follow these simple steps, you lot'll take changed your 3-prong electrical outlet in no fourth dimension:
Materials
- Whatsoever electrical appliance
- Voltage tester (optional)
- Wire cutters/pliers
- Electrical tape
- Phillips and flat head screwdrivers
- New 3-prong outlet and outlet cover
Ringlet to Continue
Read More From Dengarden
Instructions
- Locate your fuse box and plow off the ability to the outlets you will be replacing.
- Before beginning, utilize an appliance or electrical tester to make sure the power is in fact cut off.
- Once you ostend the power is off, remove the outlet cover with the correct screwdriver (dependent on your outlet). In each 3-prong outlet, you volition see 2 parallel slots and a lesser pin. The bottom pivot is the basis, the slot on the right is the hot pin, and the slot on the left (which is longer) is the neutral pivot.
- Remove the screws belongings the outlet securely to the metallic junction box.
- Carefully pull the outlet out of the junction box it is secured in.
- You will run across terminals on the dorsum or sides of the receptacle. The brass or black spiral is the hot wire, and the silverish or white is the neutral. You volition likewise see a copper wire, which is the ground.
- Once y'all determine which wires are hot, neutral, and basis, brainstorm detaching the wires 1 at a fourth dimension.
- Attach those wires to the new outlet in their corresponding positions. (Since the ability is off, y'all can remove one and so supercede it on the new outlet as you piece of work, so yous exercise not become dislocated.)
- Once all wires are attached to the new receptacle correctly, wrap a 2- to three-inch piece of electrical tape effectually the part where the wires connect to the terminals. Two layers of record are fine. Pay attention to cover the brass screws well. Doing this will assist protect the wires, and it will too serve equally an extra safety measure. This can prevent short circuits if anyone always jams things into the outlet the wrong mode.
- Render the outlet to the wall and attach back to the junction box with the securing screws.
- At this point, you should turn the power on and exam the outlet. If the ability comes on when plugging your appliance in, congrats! You did a peachy job! If it does not, turn off the ability again and echo steps 1–11.
- One time everything is working as it should, supervene upon the outlet cover and you're done!
This article is accurate and true to the best of the author's noesis. Content is for informational or entertainment purposes just and does non substitute for personal counsel or professional advice in concern, financial, legal, or technical matters.
© 2022 Rebecca
Rebecca (author) from USA on March 29, 2022:
You're welcome :)
Sweetness Baby Ray on March 28, 2022:
Cheers for your work. I greatly capeesh it.
Related Articles

Source: https://dengarden.com/home-improvement/YOU-can-change-an-electrical-outlet
Posted by: mcevoyalliver.blogspot.com
0 Response to "How To Install A 3 Prong Plug"
Post a Comment